

Vegan Kimchi with Carrots and Kohlrabi

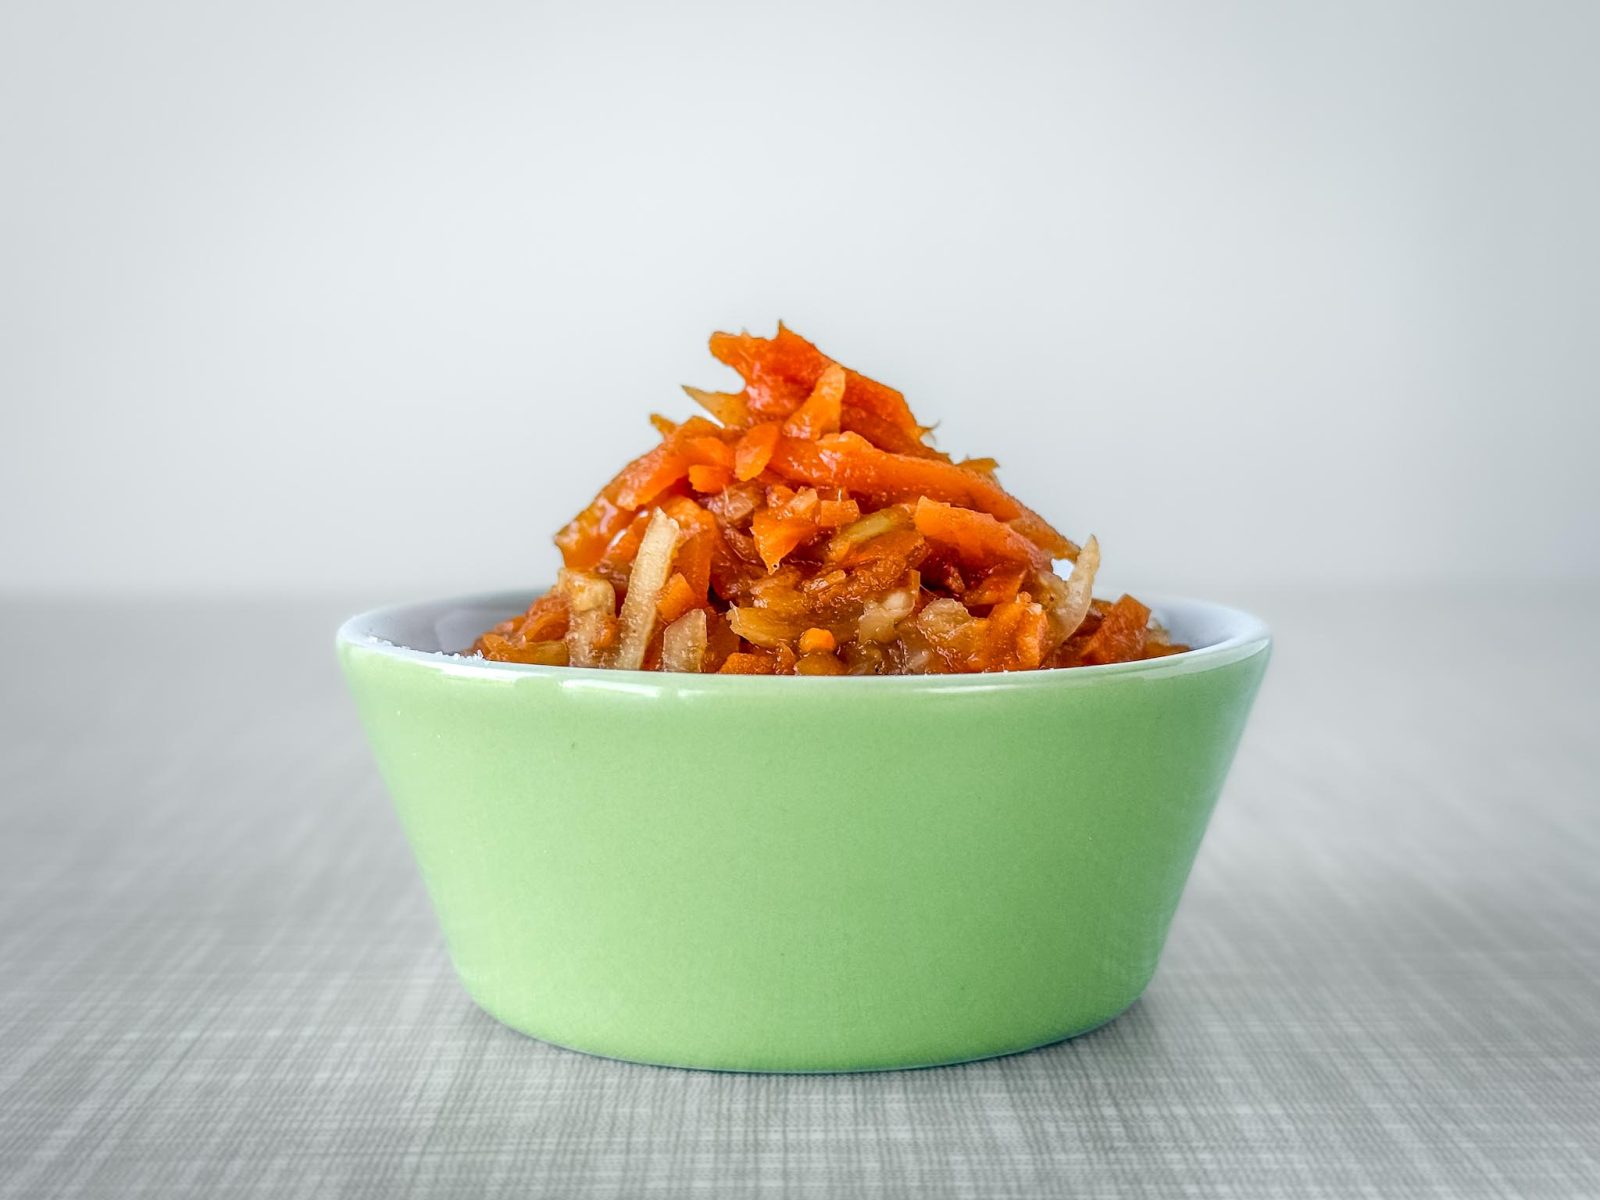
This vegan kimchi with carrots and kohlrabi is a crunchy, spicy alternative to classic napa cabbage kimchi. What makes this version special is the combination of locally grown vegetables and Korean-inspired fermentation: The finely sliced vegetables are fermented in a jar and seasoned with paprika and chili instead of gochugaru. The recipe came about after a particularly successful carrot harvest. My very first batch was so well received that I was asked to share the recipe on my blog.
From a Carrot Harvest to Homemade Kimchi
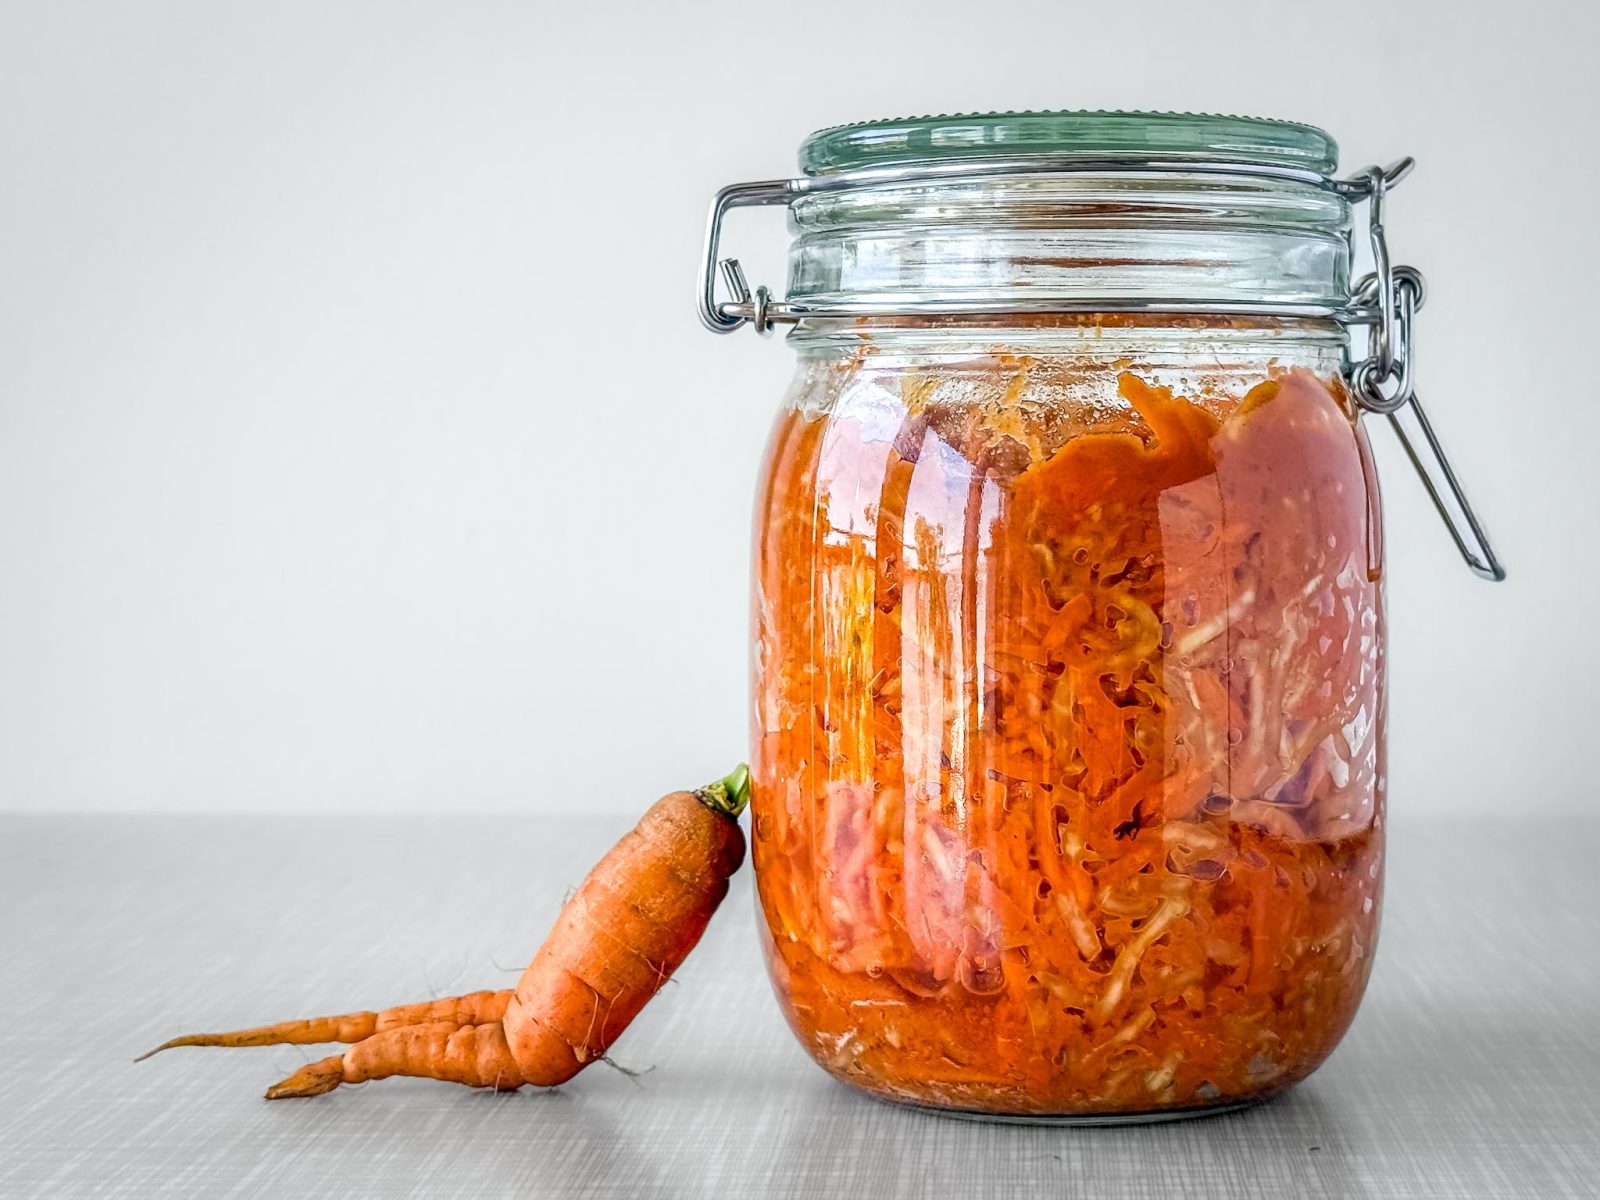
This recipe came about after a particularly successful carrot harvest. Every year, I rent a small garden plot to grow my own vegetables. I usually turn some of my carrots into carrot cake and preserve much of the rest as canned carrot salad.
This time, I wanted to try something different, so I asked for ideas in a vegan Facebook group. Someone suggested fermenting the carrots, and I immediately loved the idea. I really enjoy fermented vegetables, but I often find store-bought kimchi and other ferments quite expensive.
So I put aside my hesitation about fermentation and gave it a try. And I was surprised by how easy it was and how delicious the result turned out!
I shared some of my first batch with friends, who then passed a jar on to another friend to taste. Shortly afterwards, she sent me this message (translated from German):
Dear Elisabeth – and everyone else who’s interested: Here’s my homemade kimchi recipe with carrots and kohlrabi, along with my most important tips and everything I’ve learned from making it.

Carrot Kimchi Meets Kohlrabi Kimchi
Kimchi doesn’t necessarily have to contain napa cabbage. Korean cuisine has numerous varieties of kimchi made with different vegetables, including radish and cucumber.
My recipe, however, is not traditional Korean kimchi, but my own Korean-inspired variation. You could say it’s where carrot kimchi meets kohlrabi kimchi: I use equal amounts of carrots and kohlrabi, with a small addition of radishes.
I’ve also adapted the seasoning to my own taste and ingredients that are easy to find. The result is a spicy, pleasantly tangy vegetable ferment that works particularly well as a flavorful topping.

Inspired by Kkakdugi
The flavor of my kimchi reminds me a little of Kkakdugi, a Korean kimchi made with cubed radish. It’s crunchy, spicy, slightly sweet, and salty.
In my version, kohlrabi plays a similar role to Korean radish. It’s firm, juicy, and stays pleasantly crisp even after several days of fermentation. The carrots add natural sweetness and a lovely color, while the small amount of radishes contributes freshness and a slightly peppery bite.
Unlike Kkakdugi, the vegetables in this recipe aren’t cut into cubes but into thin strips.
Vegan Kimchi Without Gochugaru
Many traditional kimchi recipes use gochugaru, Korean red pepper flakes or chili powder.
My current spice blend actually came about out of necessity. While preparing my second batch, I had already cut up all the vegetables and was just about to make the seasoning paste when I discovered that my gochugaru had gone moldy.
And since it was the weekend, I needed a plan B. After a little research, I decided to try a combination of sweet paprika, smoked paprika, and chili powder.
Sometimes things happen for a reason: I’ve been making my kimchi with this spice blend ever since. I love the flavor, and I don’t have to go out of my way to buy gochugaru.
Of course, if you already have gochugaru at home, you can use that instead. You’ll find the amount in the recipe card.


What Ingredients Do You Need for Vegan Kimchi?
You’ll find the exact quantities in the recipe card below. Here’s what matters most about the ingredients:
- Carrots and kohlrabi: These are the two main vegetables, used in equal amounts. The carrots provide natural sweetness, while the kohlrabi stays wonderfully crunchy.
- Radishes: I use only a small amount. They add freshness and a slightly peppery note.
- Salt: It draws water out of the vegetables and creates the conditions needed for lactic acid fermentation. I use natural rock salt or sea salt *) without additives. It’s important to weigh the salt rather than estimate the amount.
- Onion, garlic, and ginger: These form the bold, aromatic base of the seasoning paste.
- Soy sauce and sugar: Soy sauce adds savory umami, while sugar balances the heat and also provides food for the lactic acid bacteria.
- Paprika and chili: Sweet paprika and smoked paprika provide color and additional flavor. The chili powder determines the heat level – with the amount specified in the recipe, this kimchi is quite spicy!
For the total vegetable weight of 825 g, I use 25 g of salt. That’s approximately 3% salt based on the weight of the vegetables. The other ingredients in the seasoning paste are added separately.
How to Make Vegan Kimchi: Fermentation Tips
You’ll find the complete step-by-step instructions in the recipe card below. Here, I’d like to explain a few details that are particularly helpful when making your own kimchi.
Should You Julienne or Grate the Vegetables?
I prefer cutting the carrots, kohlrabi, and radishes into julienne strips – thin, matchstick-like pieces.
To be precise, my food processor actually does the cutting for me. At some point, I treated myself to a julienne attachment, and it’s made preparing the vegetables much quicker.
You can, of course, also use the coarse side of a grater. There is a small difference, though:
- Julienned vegetables keep their shape a little better and remain crunchier after fermentation.
- Coarsely grated vegetables release liquid more easily and soften faster. This can result in a slightly more compact ferment.
Both methods work. I prefer julienne strips for their texture.
Why Do You Need to Salt and Knead the Vegetables?
Salt draws water out of the vegetables, creating the natural brine that’s important for fermentation.
Kneading the vegetables firmly helps them release liquid more quickly. They also soften slightly, making them easier to pack tightly into the jar.
Afterwards, the seasoning paste should be mixed thoroughly through the vegetables so the flavors are evenly distributed.
By the way, if you have small cuts or cracked skin on your hands, I’d recommend wearing gloves. Chili, salt, garlic, and onion can sting quite a bit on broken skin.
A Clean Jar and Enough Brine
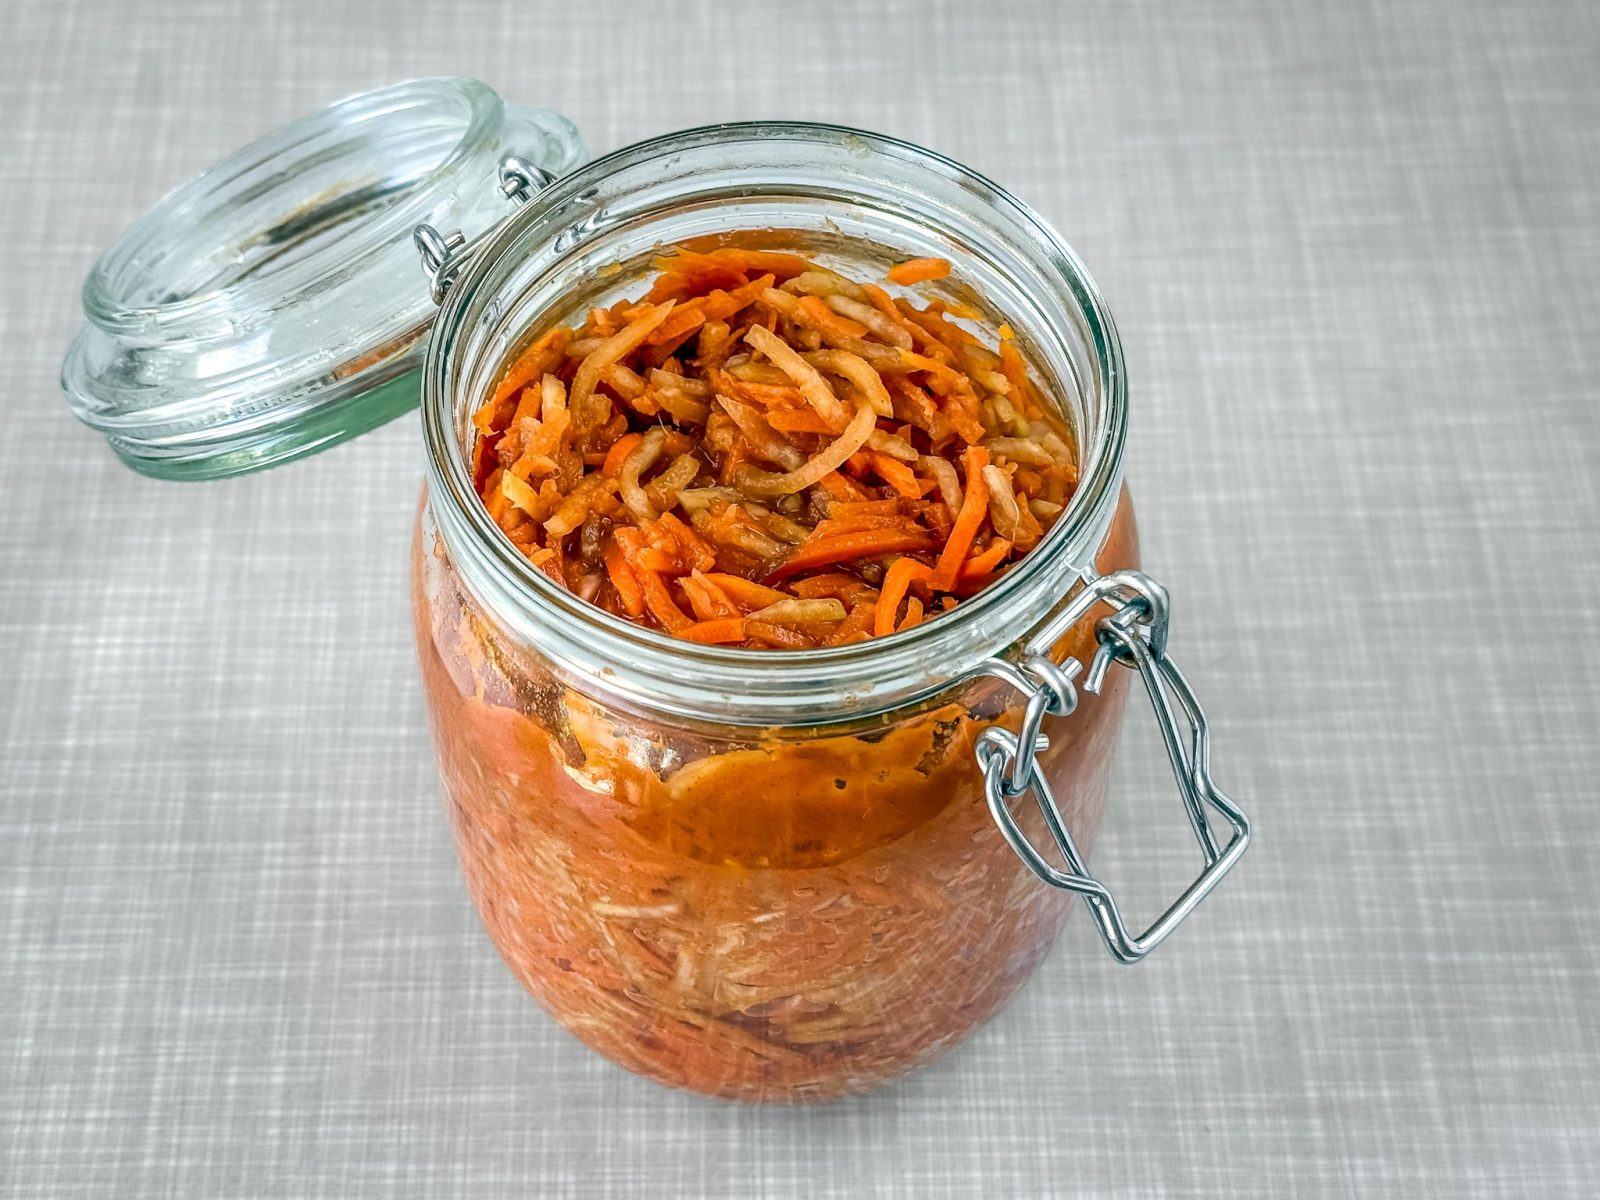
For fermentation, you’ll need a suitable, thoroughly cleaned jar and clean utensils.
I like using a swing-top jar. I clean the jar and lid carefully, rinse them with hot water, and let them drain.
When filling the jar, pay attention to the following:
- Keep things clean: A wide-mouth funnel makes filling the jar easier and less messy.
- Pack the vegetables down firmly: This helps remove air pockets and brings the brine to the surface.
- Keep everything submerged: The vegetables should remain completely covered by brine throughout fermentation. A fermentation weight is helpful for this.
- Leave some headspace: Don’t fill the jar all the way to the top, as liquid and gas can rise during fermentation.
If, contrary to expectations, the vegetables don’t release enough brine – this hasn’t happened to me so far – you can add a little 3% salt solution.
To make it, dissolve 3 g of salt in 100 ml of water and add only as much as necessary to keep the vegetables completely submerged.
How Should You Close the Fermentation Jar?
Fermentation produces carbon dioxide. This gas needs to be able to escape so that dangerous pressure doesn’t build up inside the jar.
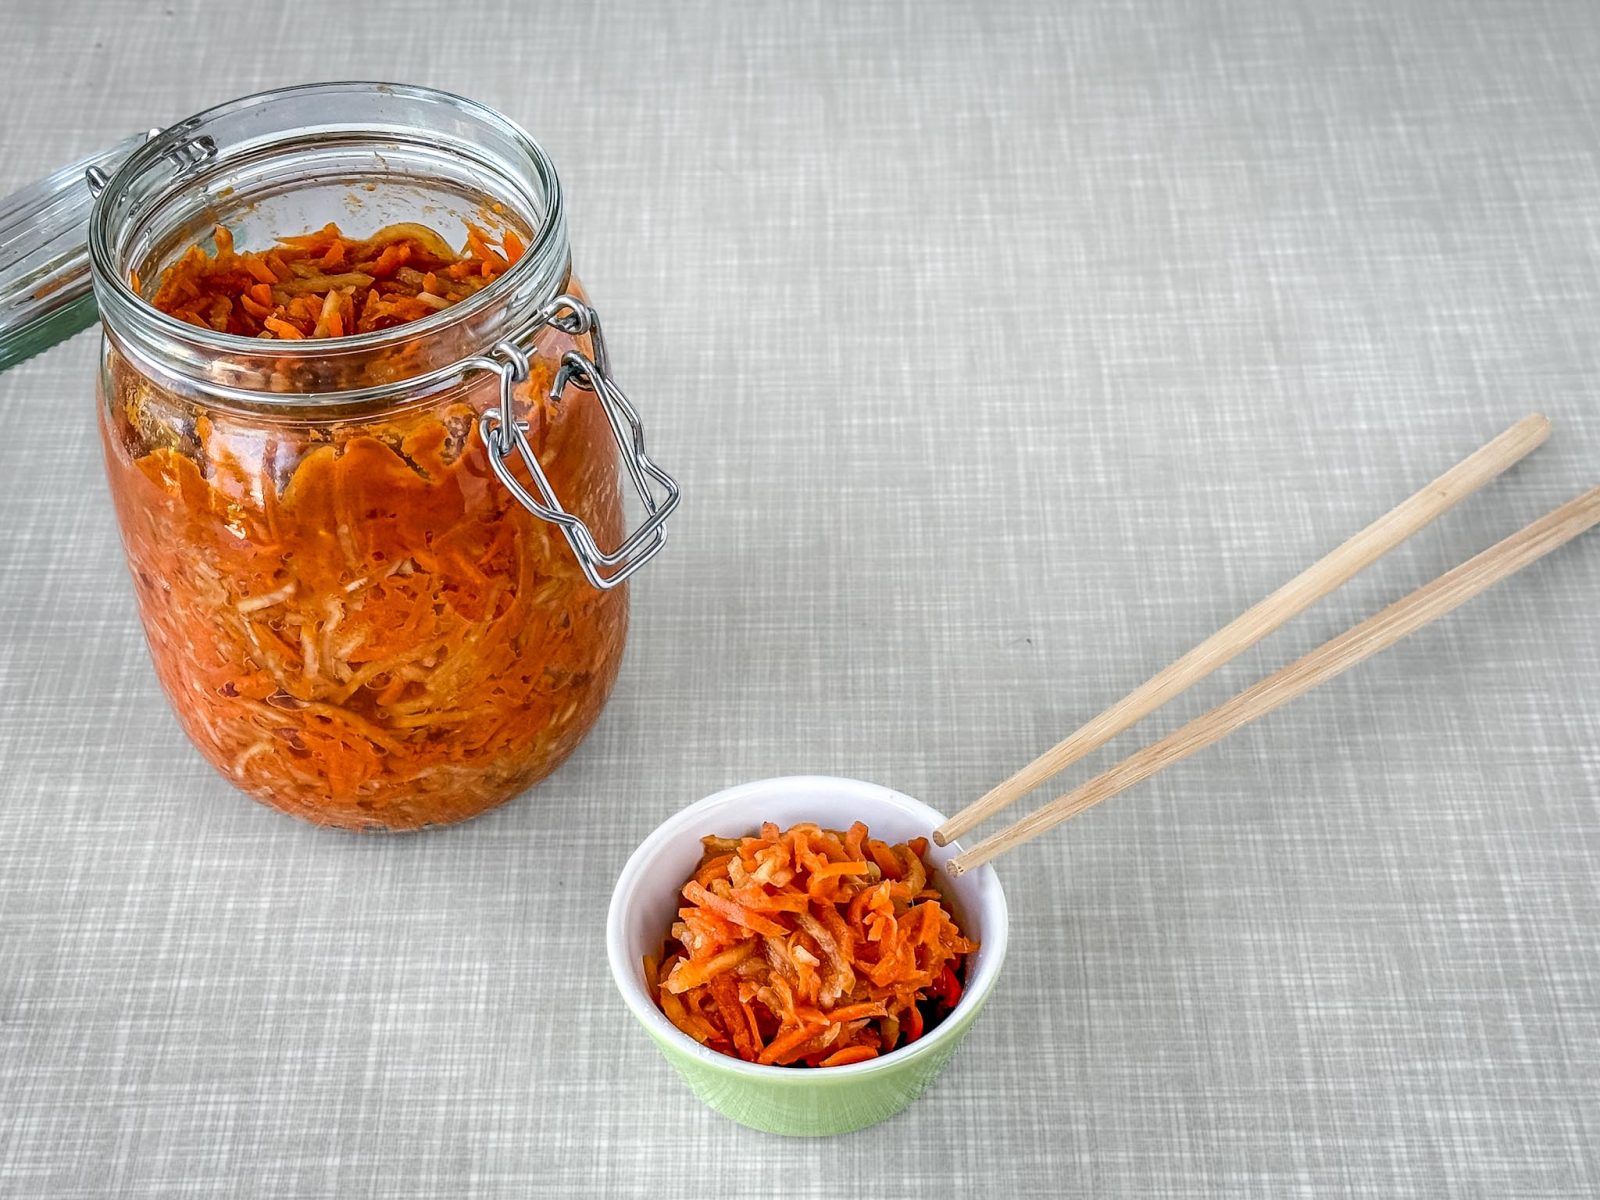
A special fermentation lid with an airlock is convenient, but not absolutely necessary.
I use a swing-top jar without its rubber sealing ring – simply remove the gasket. This allows gas to escape without sealing the jar airtight.
The important thing is to use a closure that allows pressure to escape safely while minimizing unnecessary exposure to air.
How Long Does Vegan Kimchi Need to Ferment?
At normal room temperature, around four days is a good starting point for fermentation. If you prefer a milder flavor, start tasting your kimchi after just one day and check it again each day.
For a stronger, tangier flavor, you can leave the jar to ferment for five to seven days. The ferment is ready when you like the taste: fresh and mildly tangy after a shorter fermentation, more intense and sour after a longer one.
At very warm temperatures, especially above 30°C (86°F), fermentation happens much faster. Tropical temperatures aren’t exactly ideal for lactic acid bacteria, which thrive at around 20°C (68°F).
But if you have no choice and want to ferment vegetables in the middle of summer – perhaps because your homegrown vegetables are ready to harvest – start tasting your ferment earlier (12 to 24 hours may already be enough) and move the jar to the refrigerator in time.

How Long Does Homemade Kimchi Keep?
Once your kimchi has fermented sufficiently, store it in the refrigerator. The cold temperature slows fermentation considerably.
How long homemade kimchi keeps depends on factors such as acidity, temperature, and cleanliness when taking some out of the jar.
Properly fermented vegetables can keep for several weeks, but it’s difficult to guarantee an exact shelf life for a homemade recipe.
Here are a few things to keep in mind:
- Keep it refrigerated: Store the finished kimchi in the refrigerator.
- Always use clean utensils: This helps prevent unwanted microorganisms from entering the jar.
- Keep the vegetables submerged: Keeping them under the brine reduces contact with oxygen.
- Discard if mold or unusual changes appear: Don’t taste suspicious-looking kimchi to find out whether it’s still good.
If you make a larger batch, you can also divide the finished kimchi between several smaller, clean jars. That way, you only need to open one jar at a time.
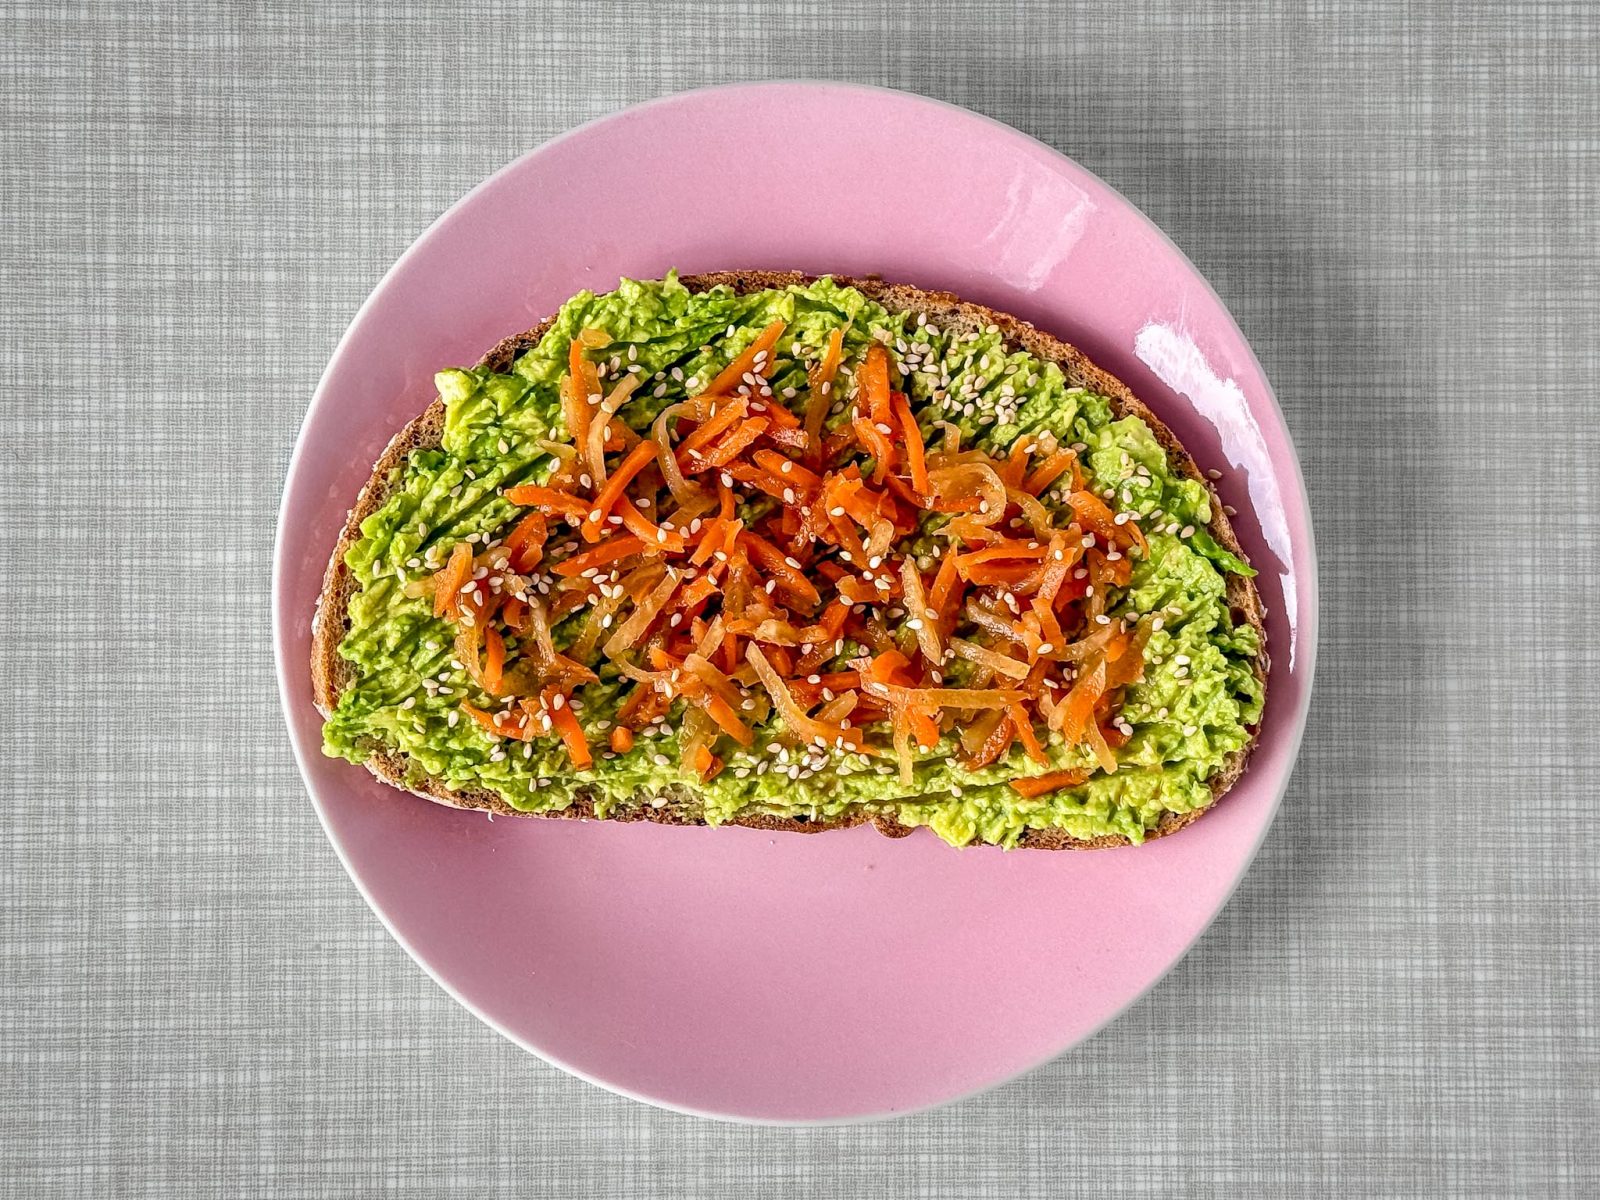
What to Eat with Vegan Carrot and Kohlrabi Kimchi
My carrot and kohlrabi kimchi is spicy, tangy, and pleasantly salty. I don’t usually eat it on its own, but love using it as a flavorful topping.
Just one or two forkfuls can add plenty of flavor and freshness to simple meals.
I particularly enjoy it with:
- Bread with vegan butter or vegan cream cheese: The spicy kimchi pairs beautifully with the mild, creamy spread.
- Avocado toast: One of my favorite quick breakfasts. Simple and absolutely delicious!
- Hummus: I especially love the combination of creamy hummus and crunchy, tangy kimchi.
- Bowls and rice dishes: A flavorful addition to otherwise mild ingredients.
- Wraps, sandwiches, and pan-fried tofu: For a little heat and a fresh, tangy contrast.
Kimchi on bread has become one of my favorite quick breakfasts.

And now I’m curious: What’s your favorite way to enjoy homemade kimchi? Let me know in the comments and inspire other readers, too!

Vegan Kimchi with Carrots & Kohlrabi – No Napa Cabbage
Useful equipment
- julienne shredder *) (I use a special blade for my Bosch MUM 5-kitchen machine. Alternative: coars shredder)
- mini blender *)
- swing-top jar *) 1-liter (34 oz; 32 oz jar also works)
- glas weight *)
Ingredients
- 375 g carrots
- 375 g kohlrabi 375 g = about 1 kohlrabi
- 75 g radishes 75 g = about ½ bunch
- 25 g pickling and canning salt *)
- ½ onion
- 3 garlic cloves
- 15 g fresh ginger
- 1 tbsp sugar
- 1½ tbsp soy sauce
- 2 tbsp water
- 1.5 tsp sweet paprika
- ¾ tsp smoked paprika
- ¾ tsp chili powder This will make it spicy. If you prefer it mild(er), please use less accordingly.
Instructions
- Prepare the vegetables: Peel the carrots (if not organic) and the kohlrabi, and wash the radishes. Cut everything into thin strips using a julienne grater or a coarse grater.
- Salt the vegetables: Mix the vegetables with the salt and knead vigorously for 1–2 minutes until liquid is released. Then let them sit for 30–60 minutes.
- Sterilize the jar: Remove the rubber gasket. Pour boiling water over the jar and lid, let stand for about 10 minutes, and then let them dry upside down.
- Prepare the kimchi paste: Finely puree the onion, garlic, ginger (peeled if necessary), sugar, soy sauce, water, paprika, and chili.
- Mix everything together: Mix the paste thoroughly into the vegetables. If you have any small cuts on your hands, it’s best to wear gloves. If necessary, rinse the blender jar with 1 tbsp of water and add this to the vegetables as well.
- Filling the jar: Press the vegetables firmly into the jar until the brine rises to the top. Weigh down with a jar weight. The vegetables should be completely submerged in the brine. If necessary, top off with a little 2% salt solution.
- Ferment: Seal the jar without the rubber gasket and let it ferment at room temperature for 3–4 days. Open it briefly once a day to allow excess gas to escape. If you prefer a milder ferment, try tasting it sooner. For a more intense flavor, you can let it ferment for up to 5–7 days.
- Store: Then store it in the refrigerator. The lid can be tightly sealed there.
Video
Notes
- Prep time: This time estimate assumes the use of a food processor with a julienne shredder attachment blade.
- Spices: Instead of the two types of paprika and the chili powder, you can also use 1.5 tablespoons of gochugaru *).


“[…] We got to try your delicious kimchi yesterday—so good!! 😍 Will there be a how-to on your blog soon? I need this in my life 😂 […]”
– Elisabeth (WhatsApp message, translated from German)